Family portraits
Bring portraits from different decades into one digital collection. Start with the complete photograph, including the clothing and setting that help tell its story, then make a closer crop later if you need one.
Repair scratches, improve clarity and add color to faded family photos.
1 free image daily
Verified account required · then 8 credits per image
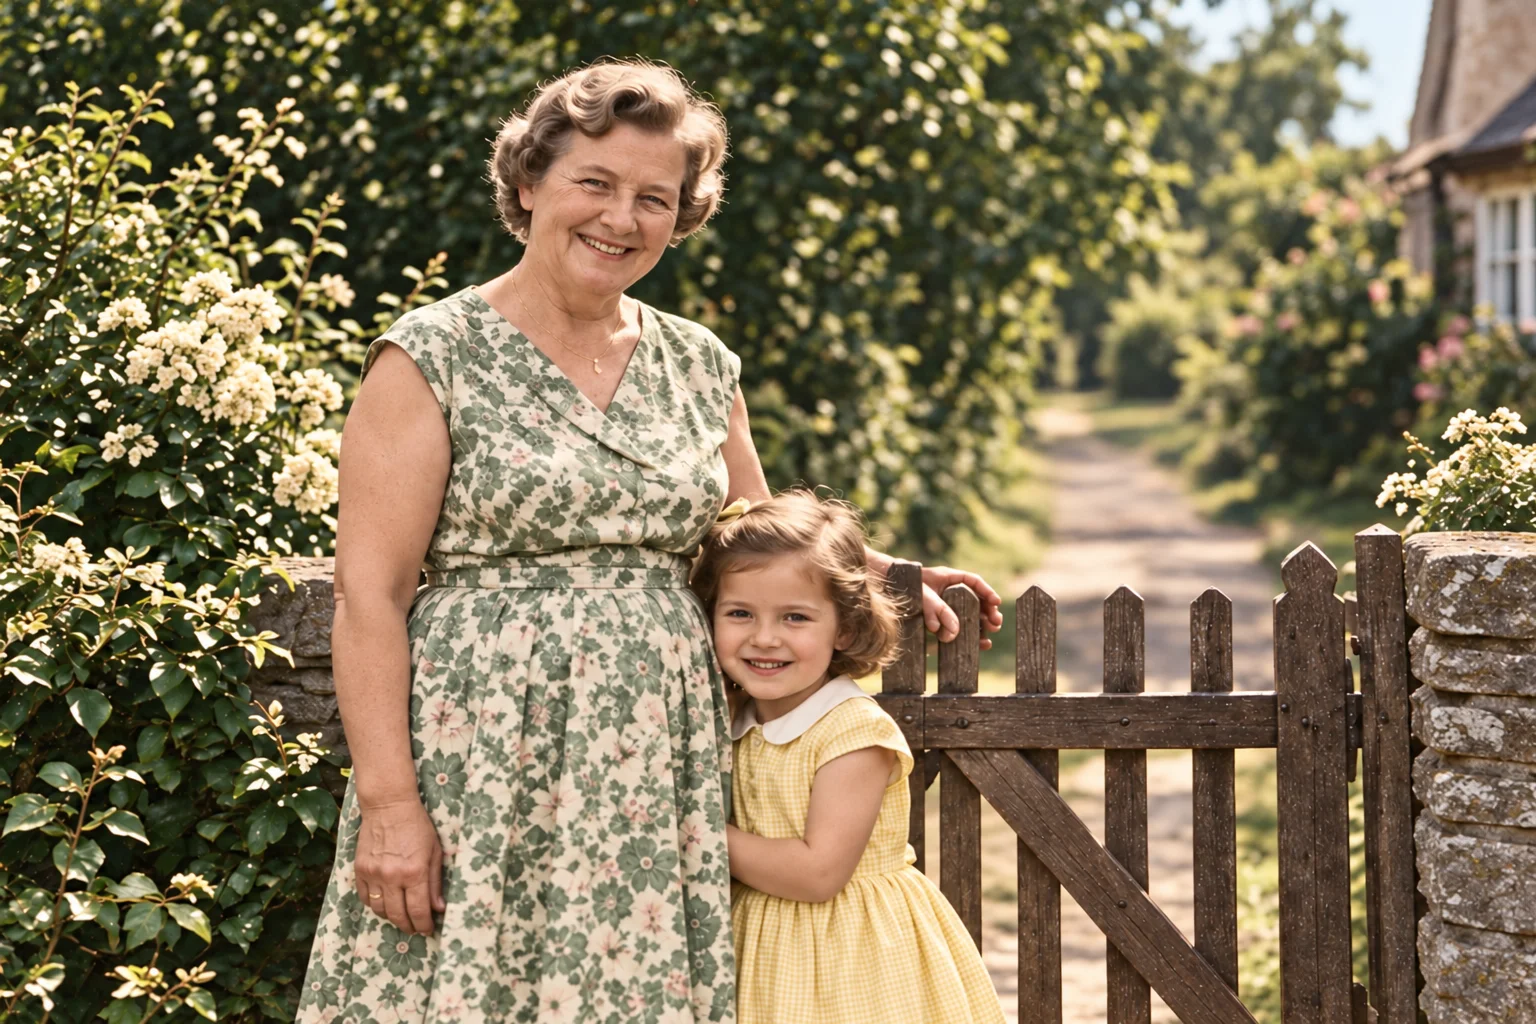
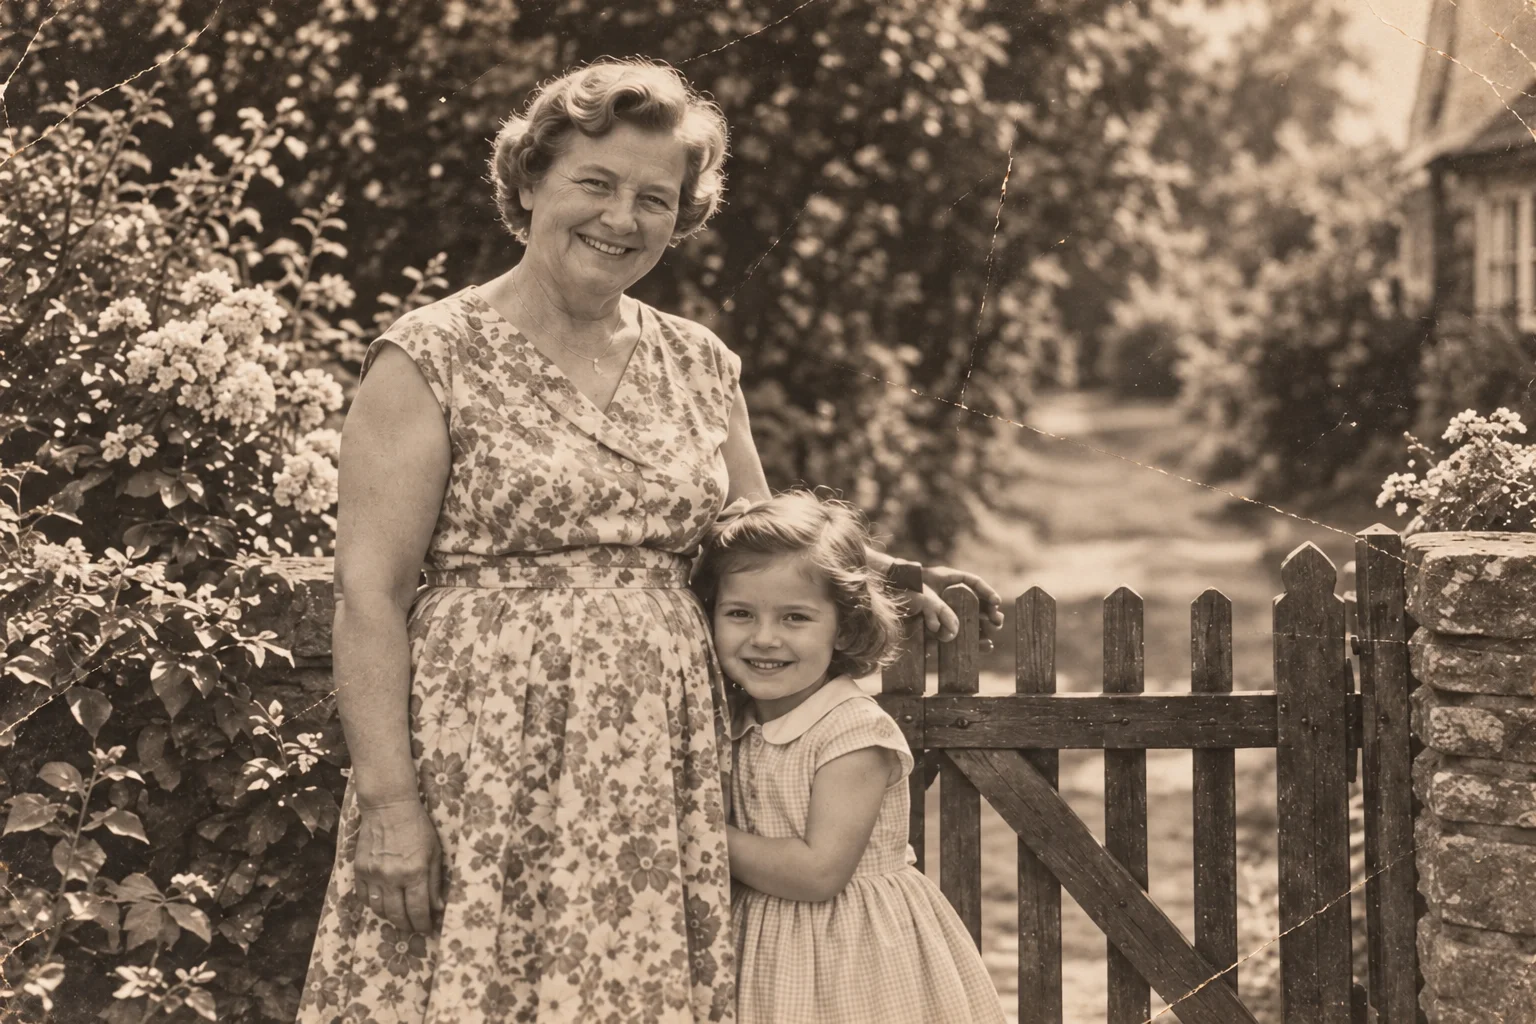
Repair scratches, reduce fading and add natural-looking color in one step. Your original stays unchanged.
1 free image daily with a verified account · Then 8 credits per image.
A holiday, a first motorbike, a favorite jacket: old photographs hold more than faces. Repair surface damage and add gentle color while keeping the period character of the scene.
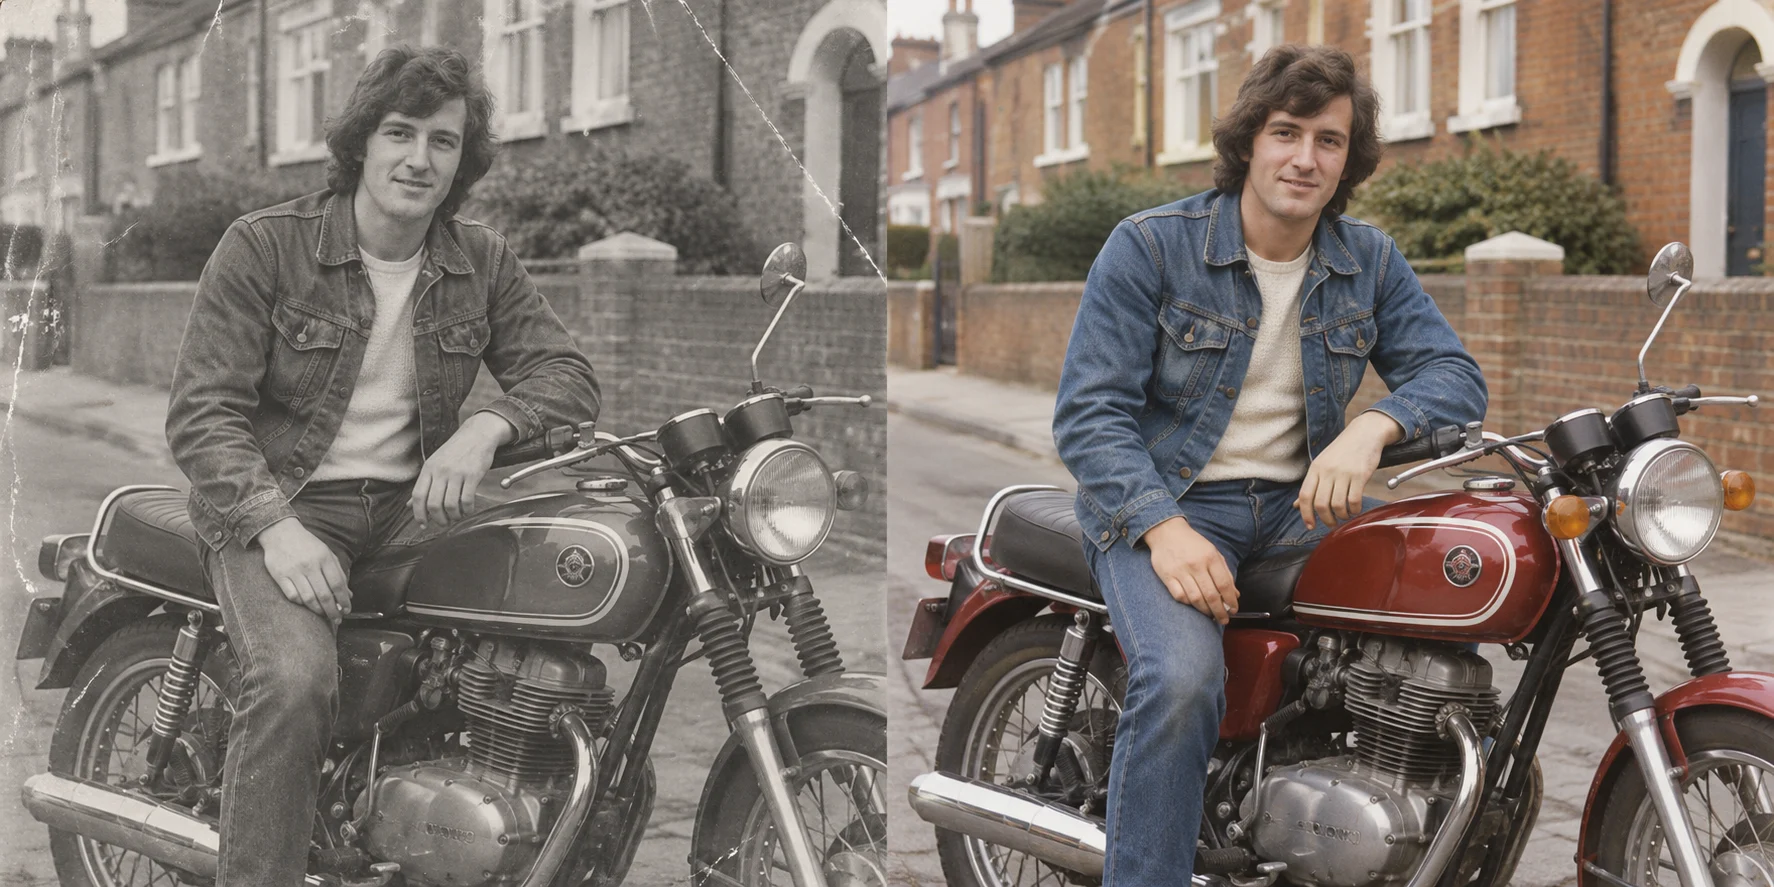
Faded photograph
Repaired & colorized
Restore scratches, creases and faded areas together in one pass.
Give familiar faces more definition for a family album or personal archive.
Restoration includes colorization. Keep the original print as the record of how the photo looked.
Smooth the print gently and photograph it straight on.
Avoid a flash reflection across faces or glossy paper.
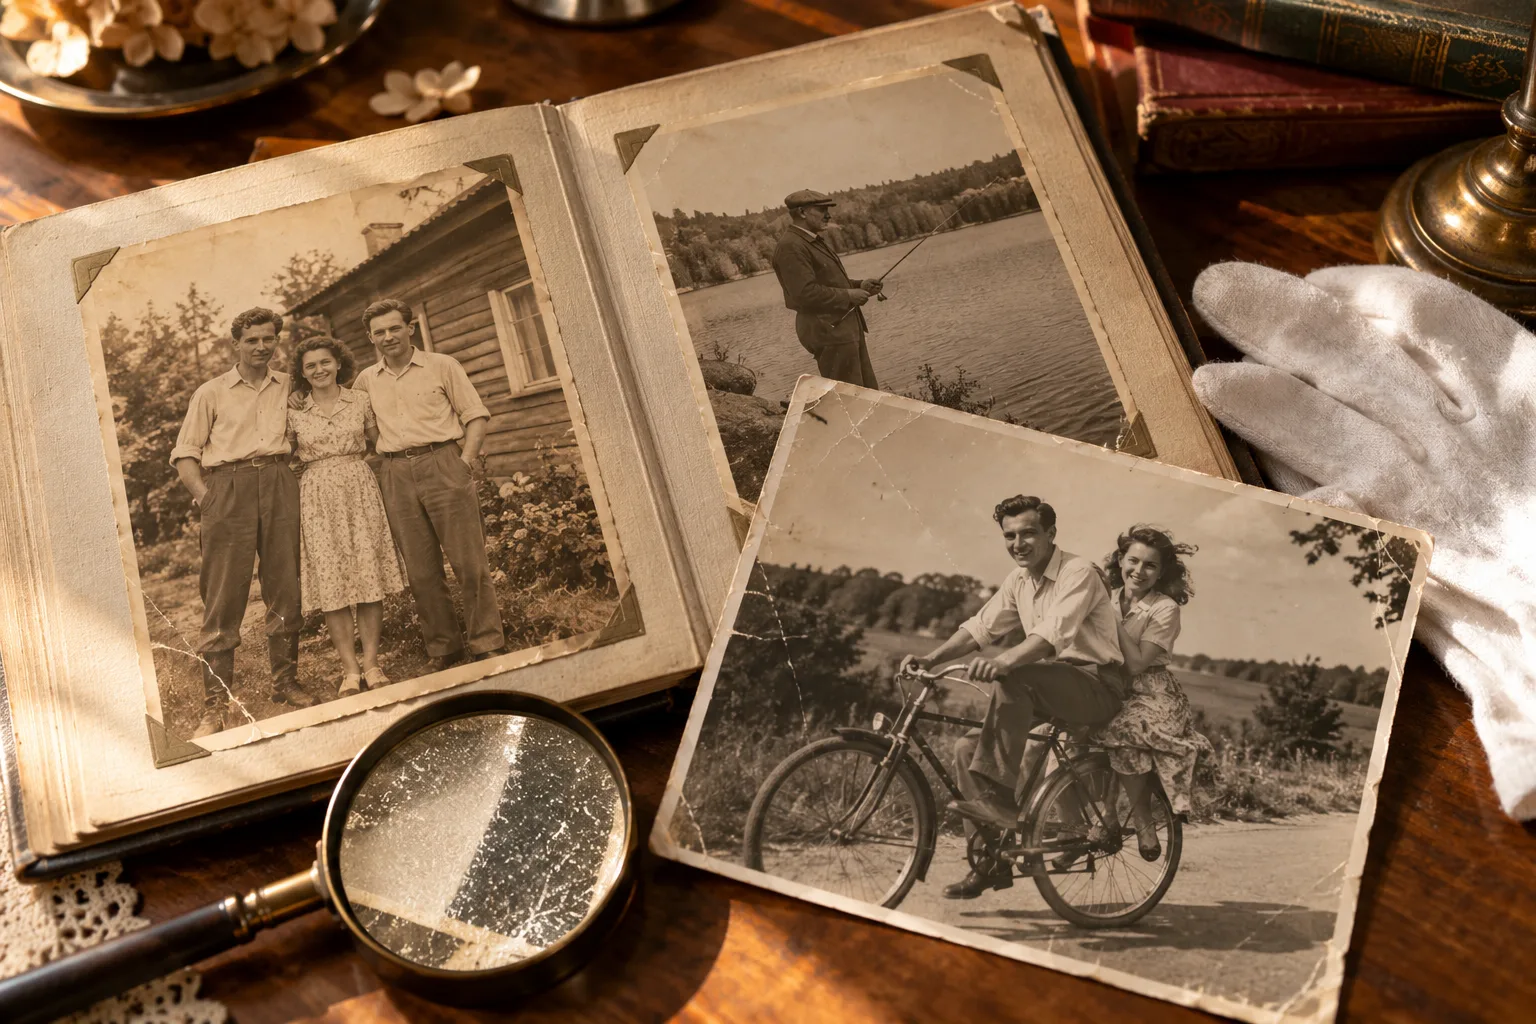
Remove the table and frame before uploading your copy.
AI photo restoration works on a digital copy of an old print. It combines scratch repair, clarity and color in one treatment, whether you are starting with a single portrait or gradually building a family archive.
Bring portraits from different decades into one digital collection. Start with the complete photograph, including the clothing and setting that help tell its story, then make a closer crop later if you need one.
Work from an evenly lit scan or photograph so scratches and fading are visible without glare. Compare the repaired areas with nearby clothing and scenery to judge whether they join naturally.
Explore a colorized interpretation of an older photograph. Colorization is included in this workflow; keep the black-and-white original as well, particularly when the historical colors are unknown.
A useful restoration should hold together as a photograph, not only look brighter in a thumbnail. Compare details that matter to the people and the moment.
Compare the restored eyes, smile and face shape with the original. Small features carry identity, so use the largest clear copy of the print that you have.
Follow a crease or scratch through clothing and background areas. Look for a consistent texture where the damage was, and inspect objects near the repaired region.
Judge the complete image as well as individual details. Keep both versions when a new color treatment is enjoyable but you also want a record of the original print.
A restored file can become more than an image in a download folder. Give it a recognizable name and keep the best version for the way you intend to use it.
Use separate names for the source and the edited copy. Add a date, place or family name when you know it, so both versions remain easy to find in a growing photo collection.
Download the result and save a smaller sharing copy if needed. Keep the full-size PNG separately so a compressed message attachment does not become your only version.
Need more pixels for a larger print? Check your restored image dimensions and use Image Upscaler if necessary. For a recent photograph with camera-shake softness but no aged damage, start with Unblur Image.
Lay it flat, avoid reflections and photograph it straight on. A scan also works well.
Upload the cropped photo and run restoration. Repair and color are handled together.
Compare the restored image with the source, download it and share it with your family.
After email verification, you get 1 free image a day. The same daily allowance applies to subscribers. Extra images cost 8 credits each.
No. A sharp, glare-free phone photograph works too. Fill the frame with the print and keep the camera parallel to it.
Yes. The restoration combines repair, clarity and natural-looking color. The colors are an interpretation rather than a historical record.
AI can reconstruct damaged areas from the surrounding image. Keep your original as well as the restoration, especially when parts of a face or scene are missing.
Each tool’s daily allowance resets at 00:00 UTC. Using another tool does not reduce this allowance. Unused daily uses do not carry over.
No. If a task fails, its credits or free use are returned. A completed result still uses the displayed credits or free allowance, even if you decide to try a different edit.
Image results created with an active subscription or an unexpired credit-pack purchase stay saved until you delete them. Other image results are available for 3 days. Check the expiry shown with each result and download any images you want to keep.My creations
Give a family photo a new chapter.
Restore your photo